- Once designs are approved and color separated we then print them on films in house.
- Artwork has to be approved before we can get started on a print.
- Approval also colors have to be chosen. To ensure accuracy we go by solid coated pantone colors. These are often referred to as PMS colors.
- The size of the artwork is something else that must be chosen. We do have a max height and weight that our screens can print.
- The correct mesh screens are chosen and we begin the “burning” process.
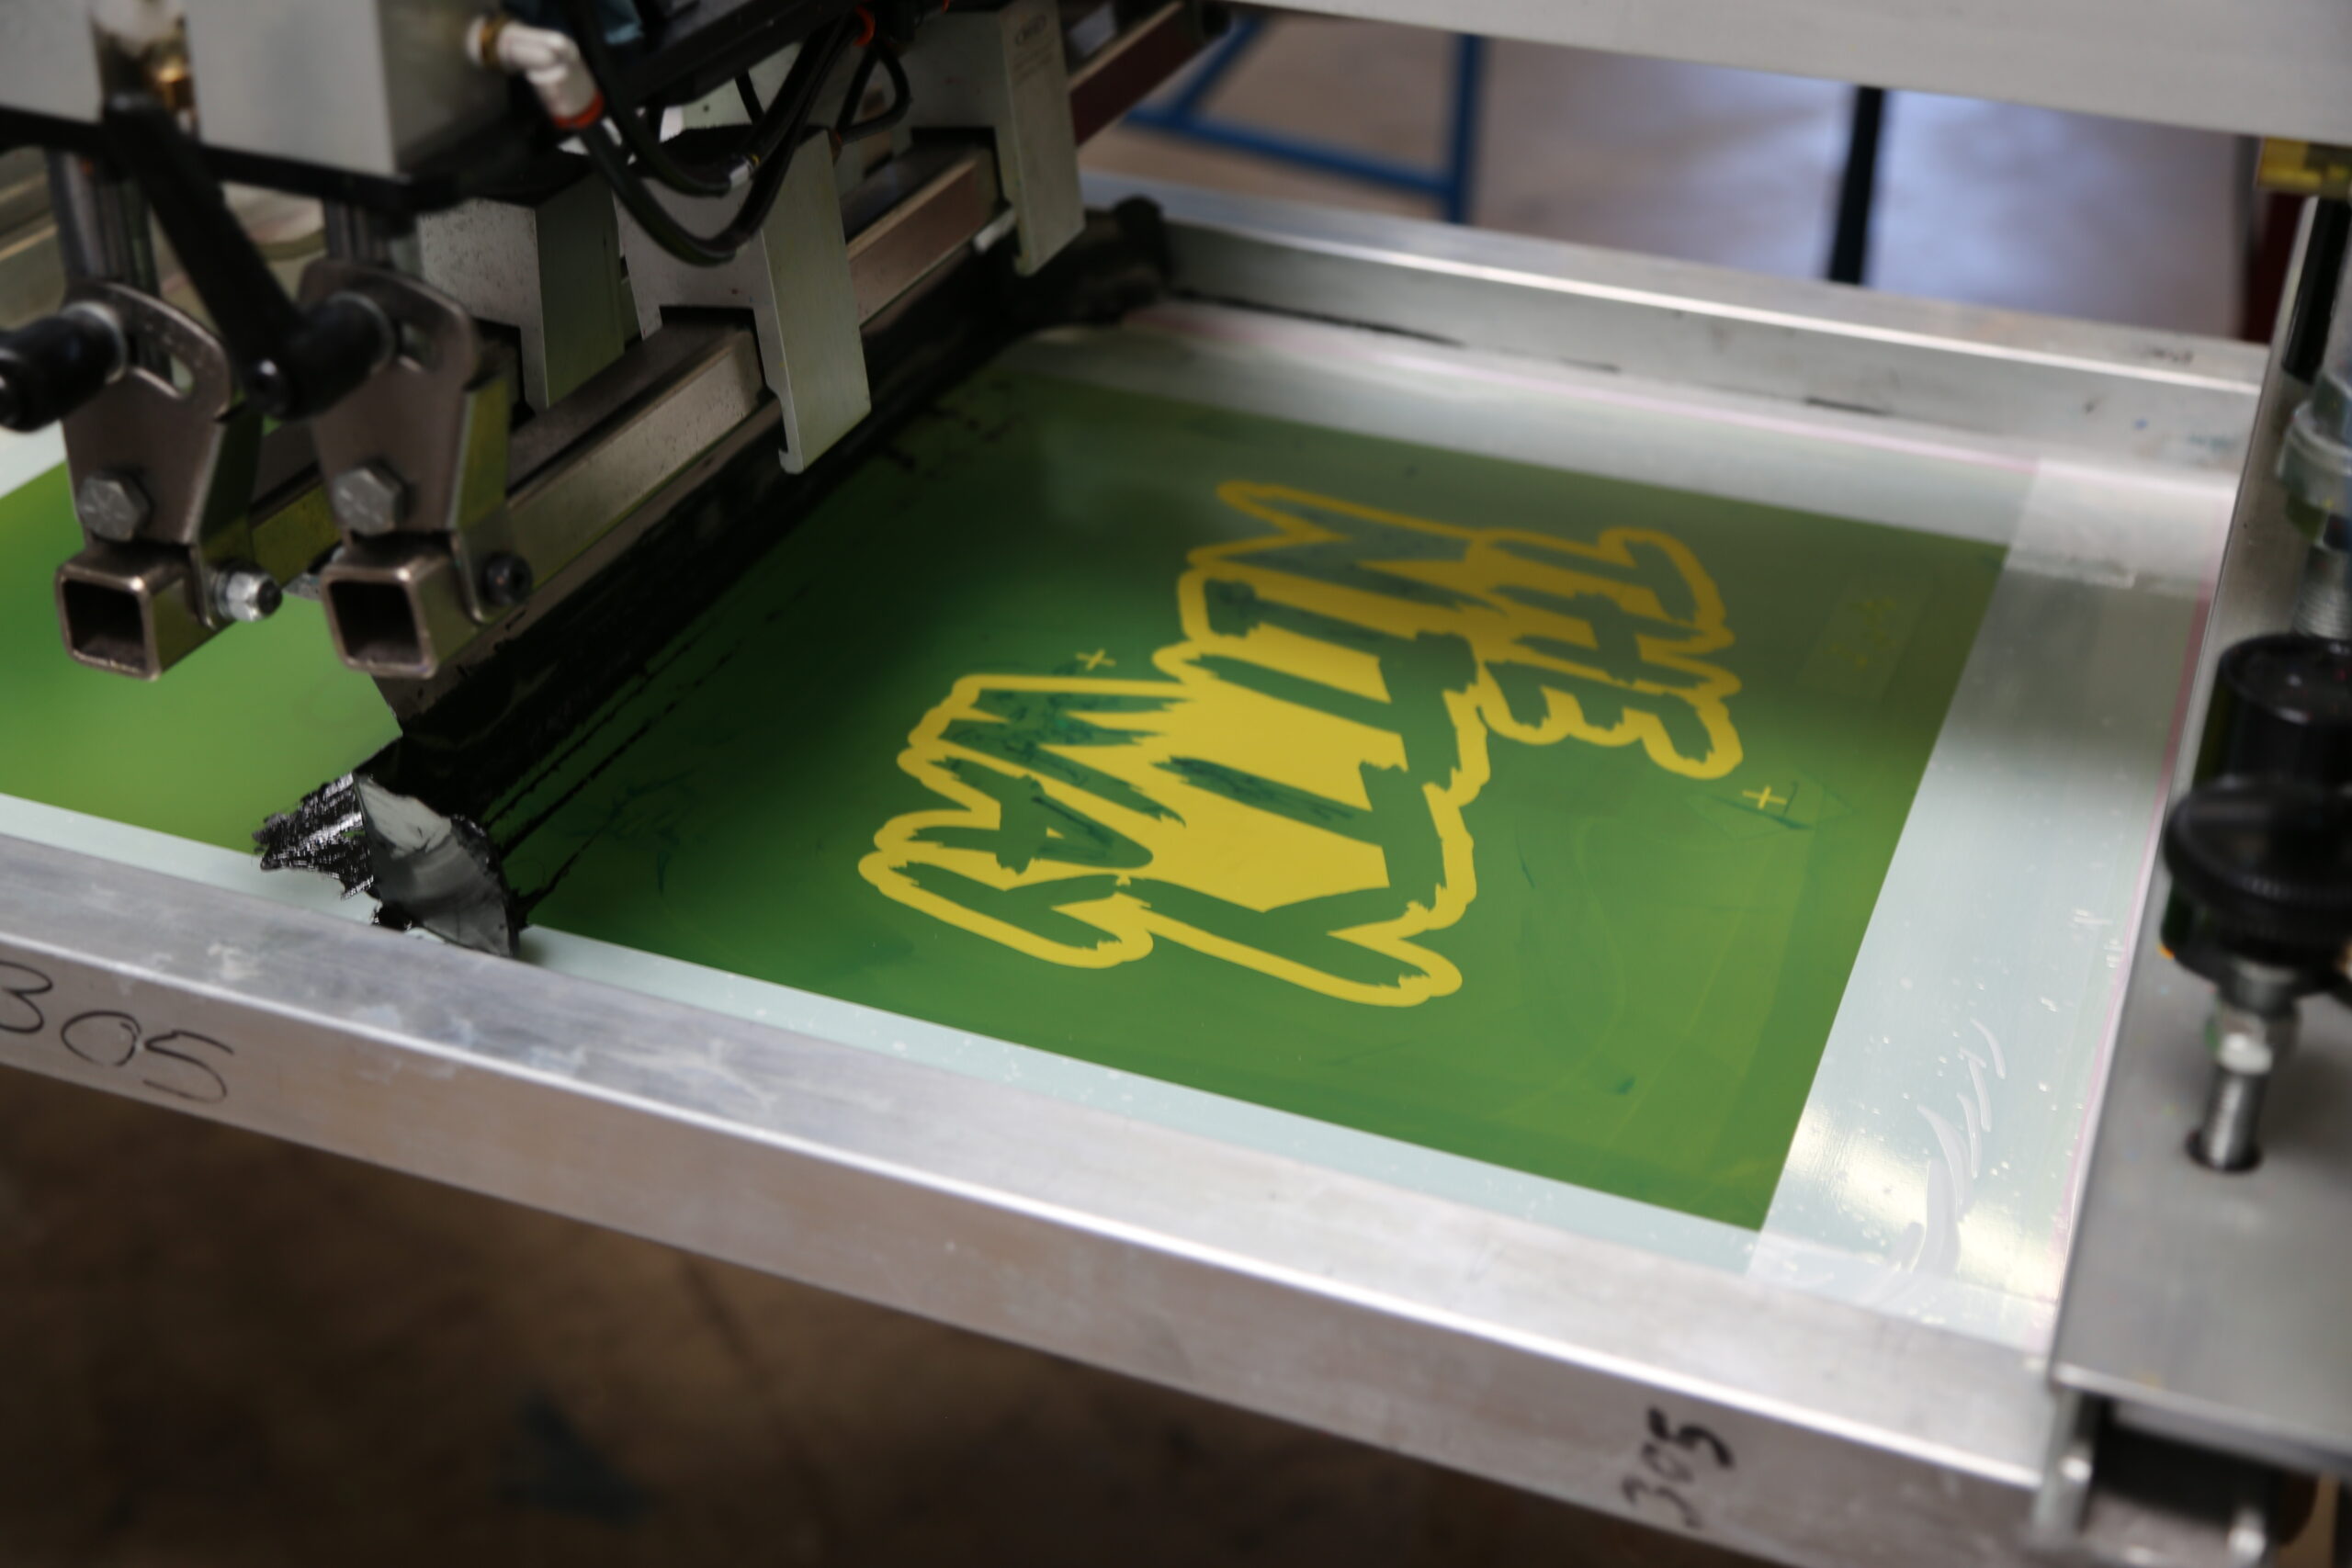
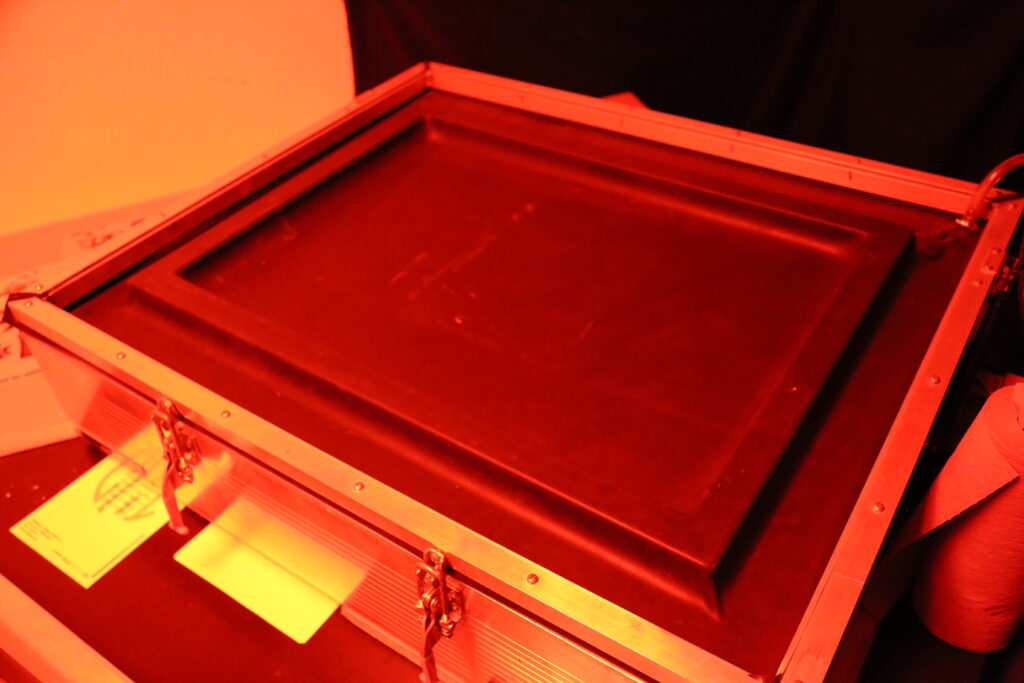
- This is done in our dark room (photo lab).
- We coat the screen with emulsion and let it dry for a bit. Emulsion hardens when UV light hits it. This is why we are using a dark room where are lights are covered with Rubi lithe to block out UV lights.
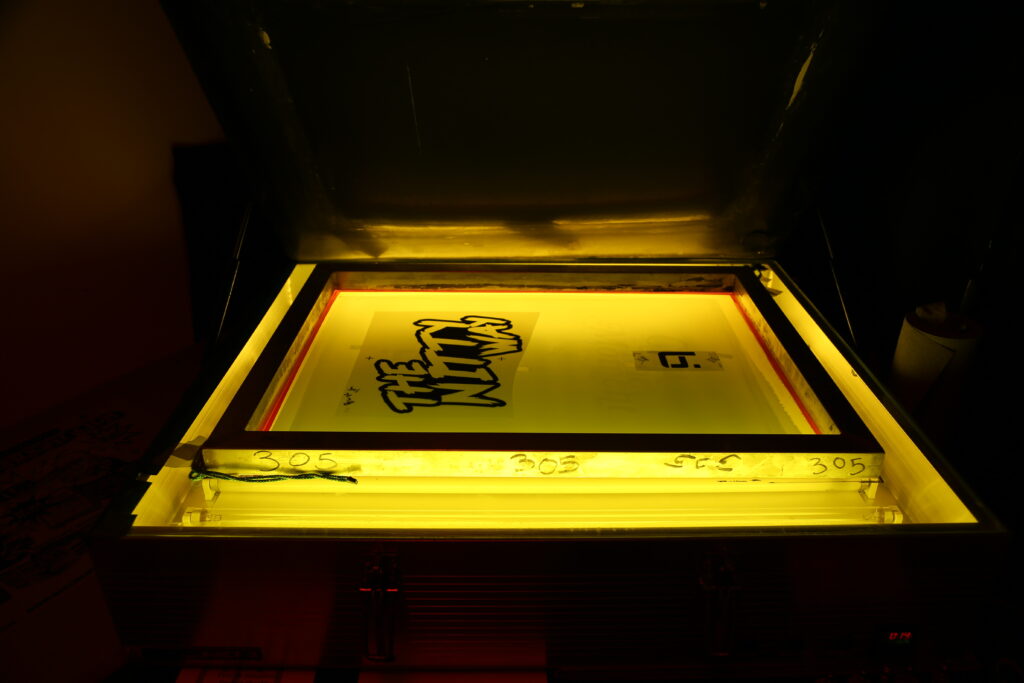
- Once it’s dry we then take the film and place it on the top of the screen mesh and place it into a vacuum sealed exposure unit. Once sealed we turn on the exposure lights which will now harden the emulsion on the screen except for the area where the design is blocking out the light.
- Once complete we then take a power washer and wash out the soft emulsion.
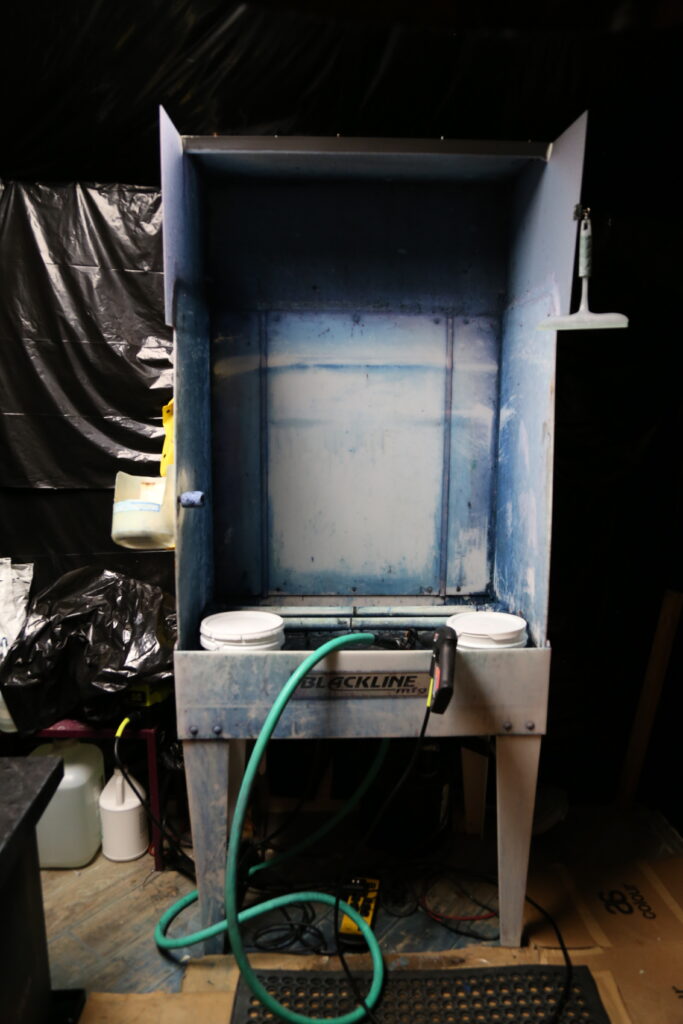
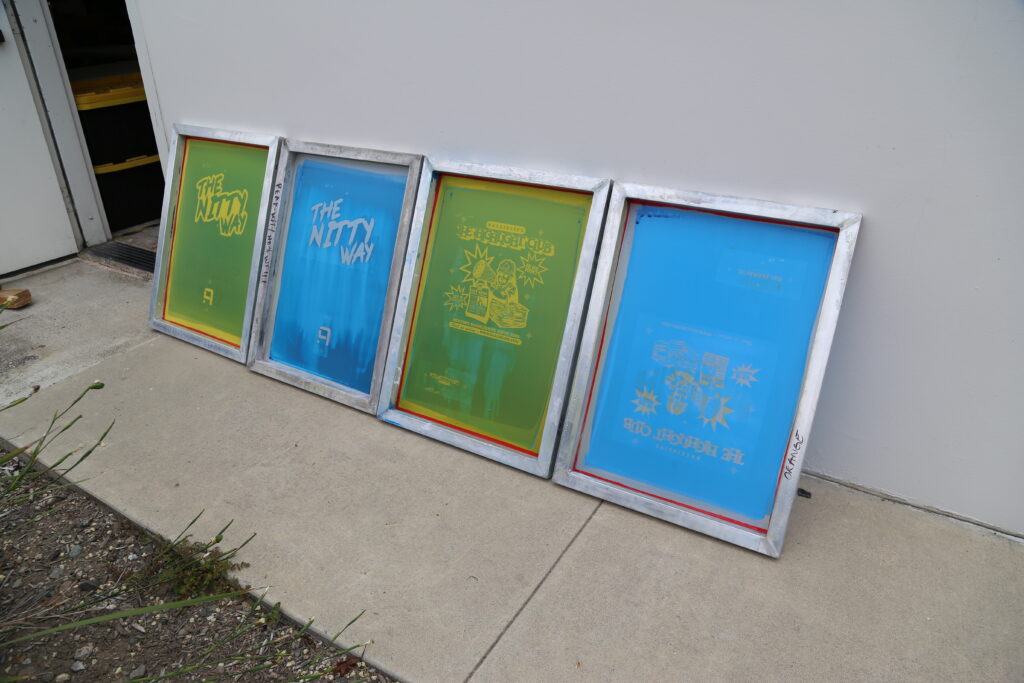
- After this is washed out we let the screens get some vitamin d outside so that the emulsion can fully harden.
- This is done in our dark room (photo lab).
- Color mixing & choosing
- One of the main reasons why we choose pantone colors is because they have specific color codes that we use in our color mixing process. Those codes tell us what to mix to get a specific color based on how much ink we input that we will need for the job.

- Using Pantone colors ensures us that we will get as close to the same color everytime.
- One of the main reasons why we choose pantone colors is because they have specific color codes that we use in our color mixing process. Those codes tell us what to mix to get a specific color based on how much ink we input that we will need for the job.
- Setup/Sample Creation
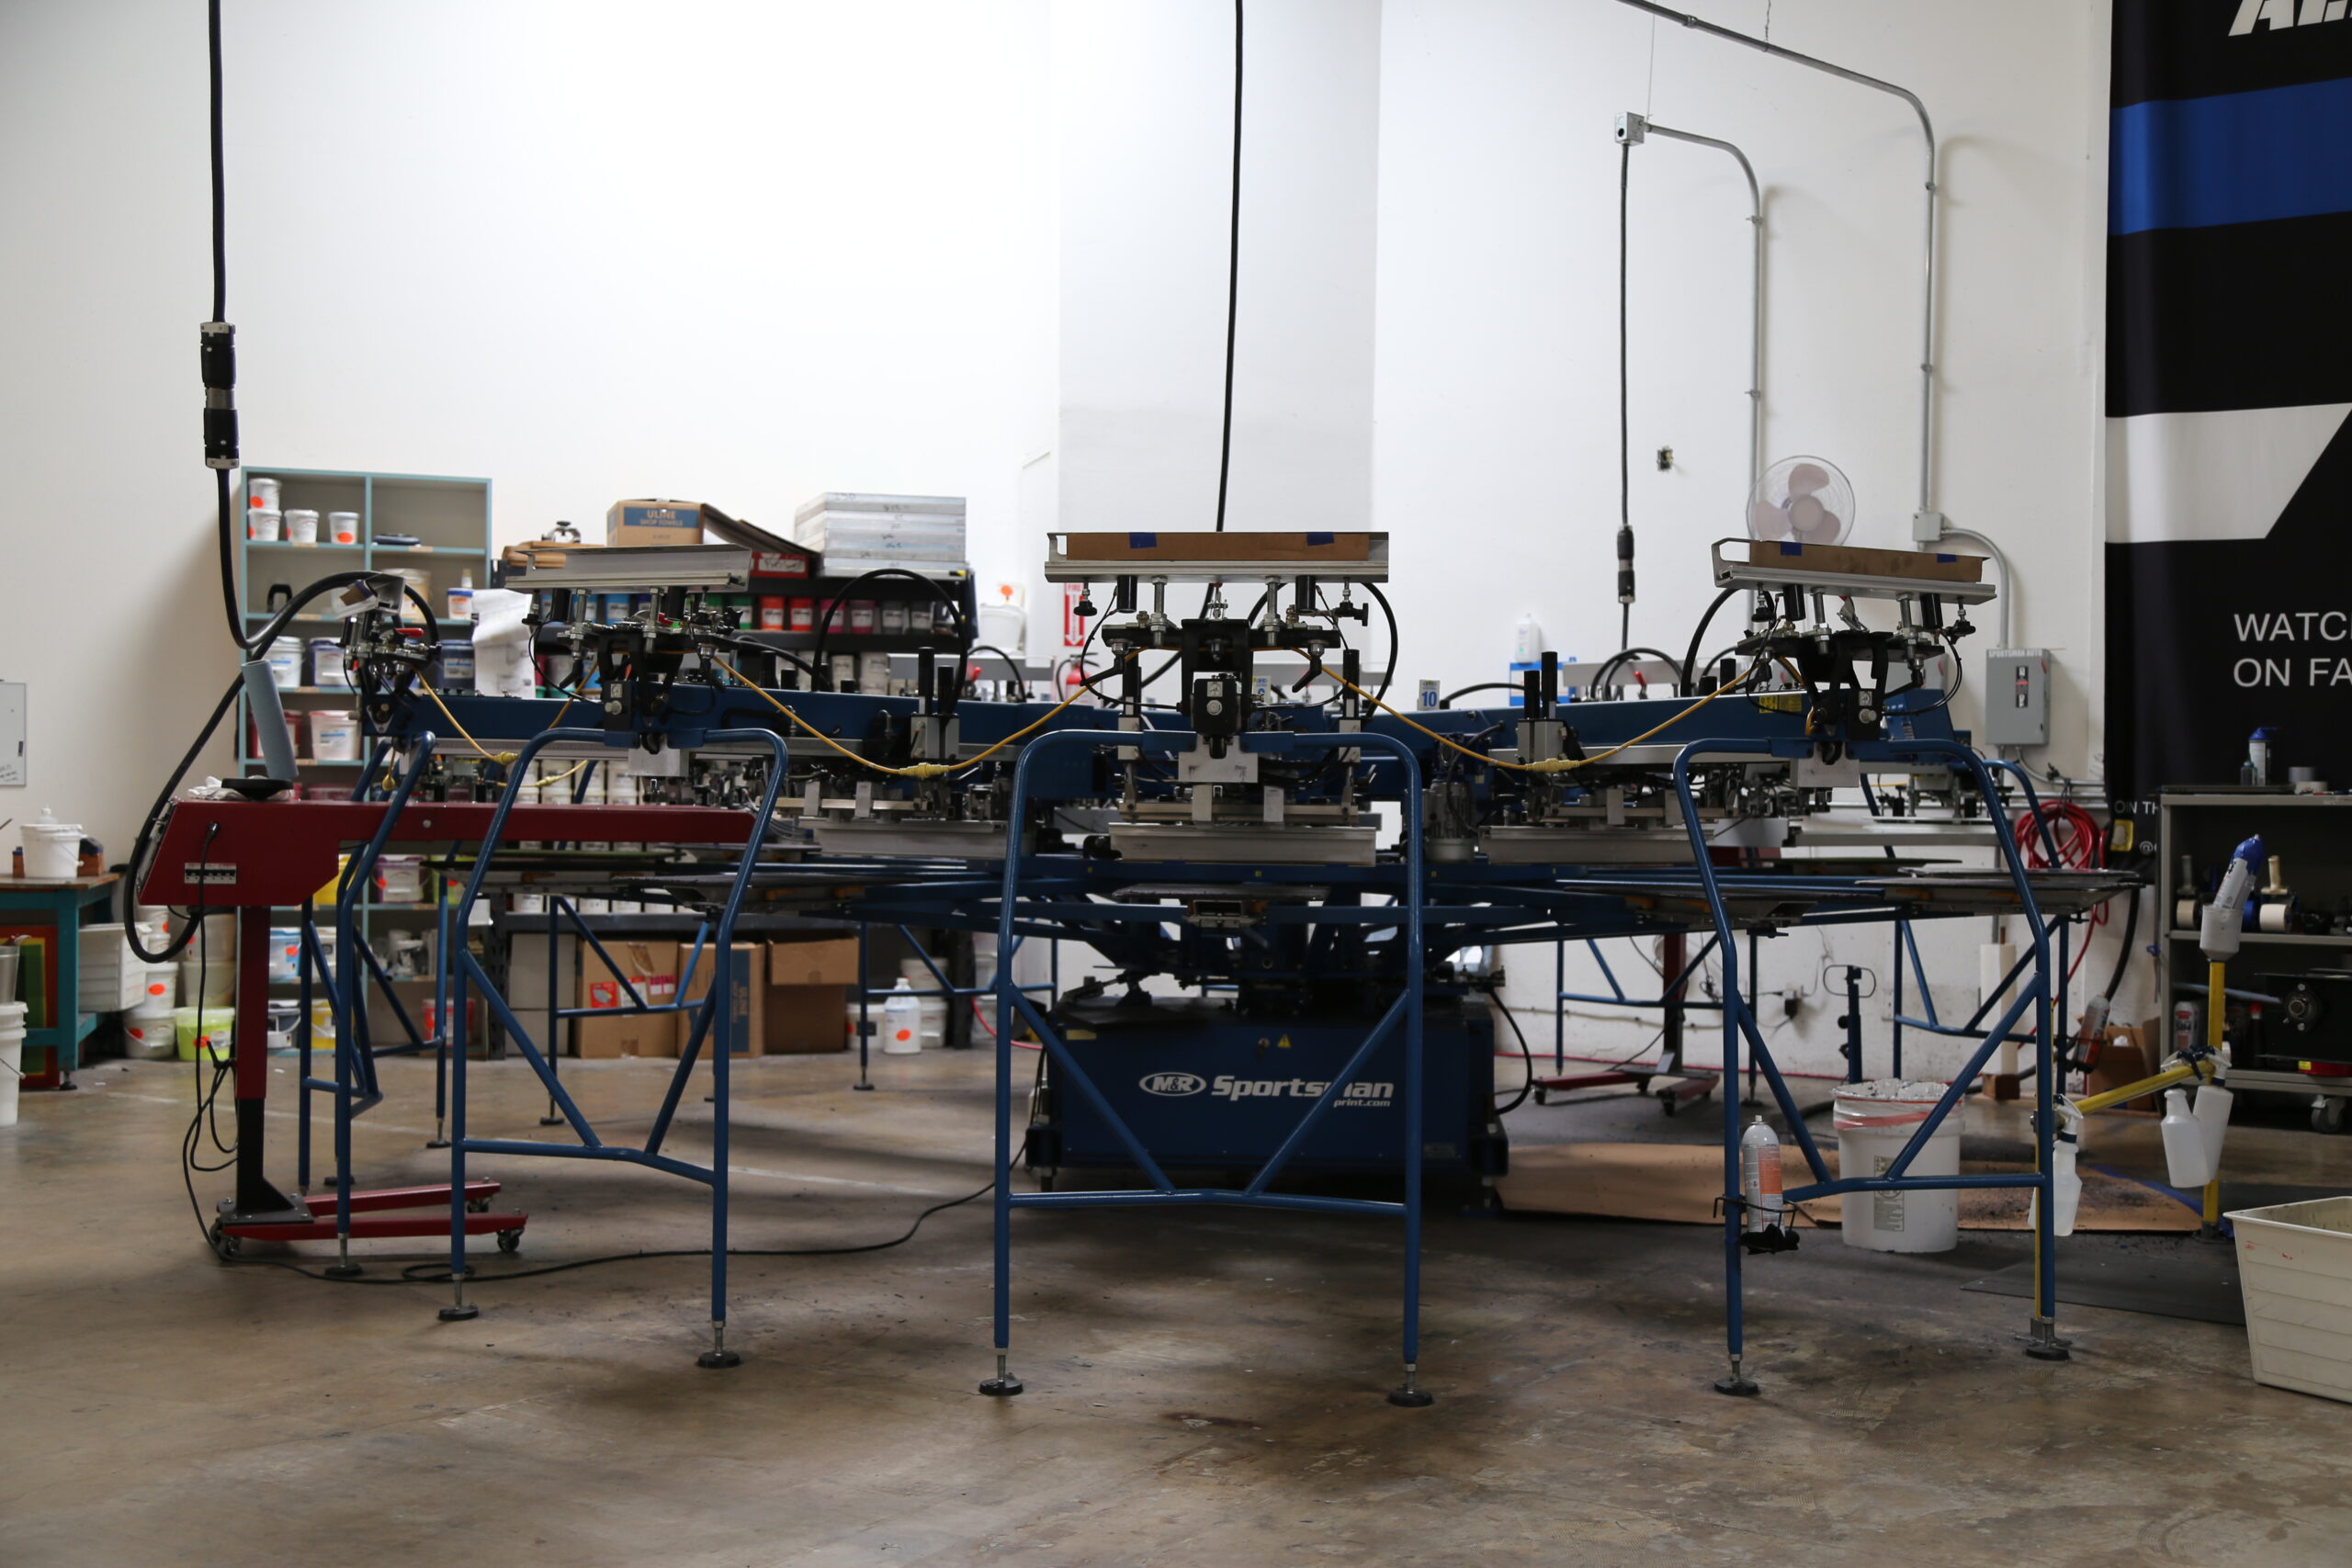
- Once our screens are burned and colors are chosen we then move to the next stage which is setup on the printer.
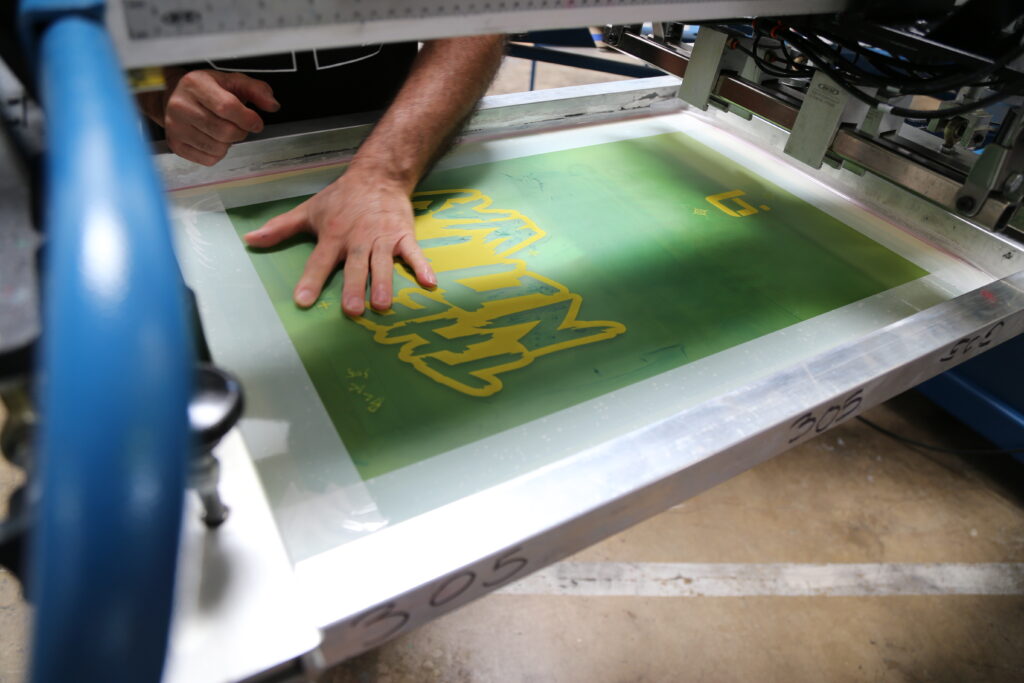
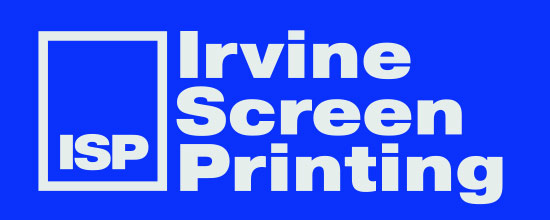
- If the print is just a single color this is a simple process. If the print has multiple colors things can get tricky. We must align the screens on the printer to the registration points we have created on each screen. This is how you “put the puzzle together” when it comes to colors.
- Once registration is complete we will print out a sample. If everything looks good and the sample is approved we will then start production.
- Once our screens are burned and colors are chosen we then move to the next stage which is setup on the printer.
- Production
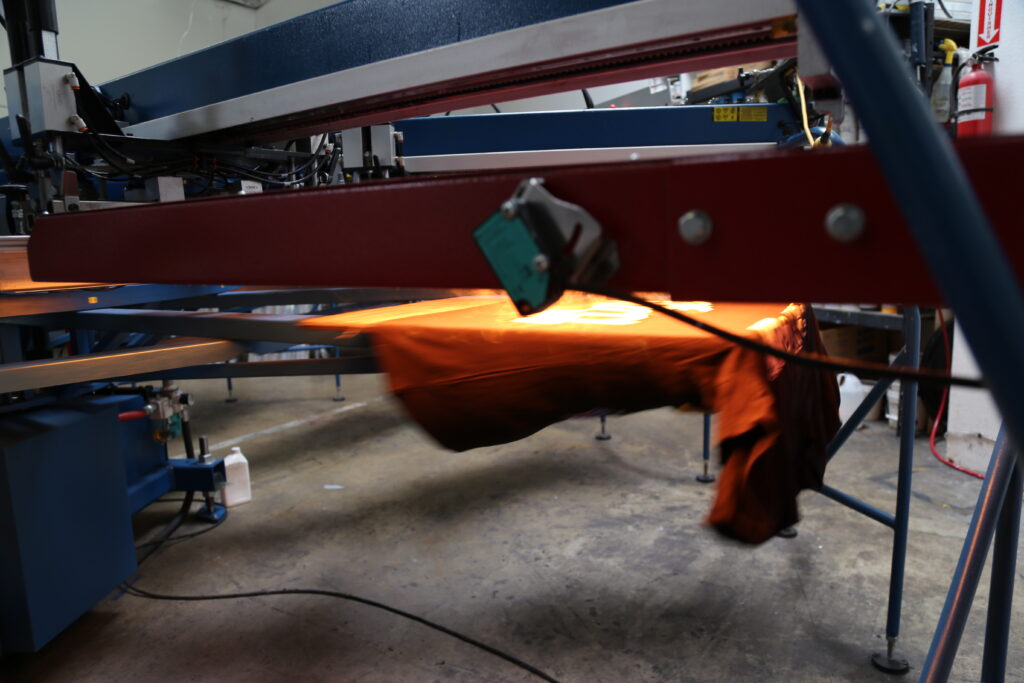
- Once setup is complete and a sample is approved we can start production.
- Singe color single sided on white material print designs will be done the quickest.
- Prints on darker fabrics like black will take a bit more time due to needing an under base. An under base (white or light gray) is used to ensure that your colors come out correctly while also reducing the amount of times the print needs to be printed.
- Print jobs that have multiple placements on the item will take a bit more time as we will need to print each placement individually.
- Example – You’d like a custom size next label printed on, a front left chest print and a large back print. This is 3 different setups.
- Packaging (If Needed)
- We also offer to fold and bag your prints once the printing is over.
- Custom labeled polybags/paper bags are also an option
- Adding custom printed hang tags with barcodes are also an option.
- Printing and packaging with retail specifications is also something we can do.
- Example : you have a purchase order from a retailer and that retailer requires you to label and include a proper packing list with each order. If this is not done up to specifications retailers can and will ship your order back on your dime.
- We also offer to fold and bag your prints once the printing is over.